Shape product ideas into clear packaging.
Practice dielines, panel layouts, typography, color, and mockups while learning how to organize packaging that stays readable at realistic print size.
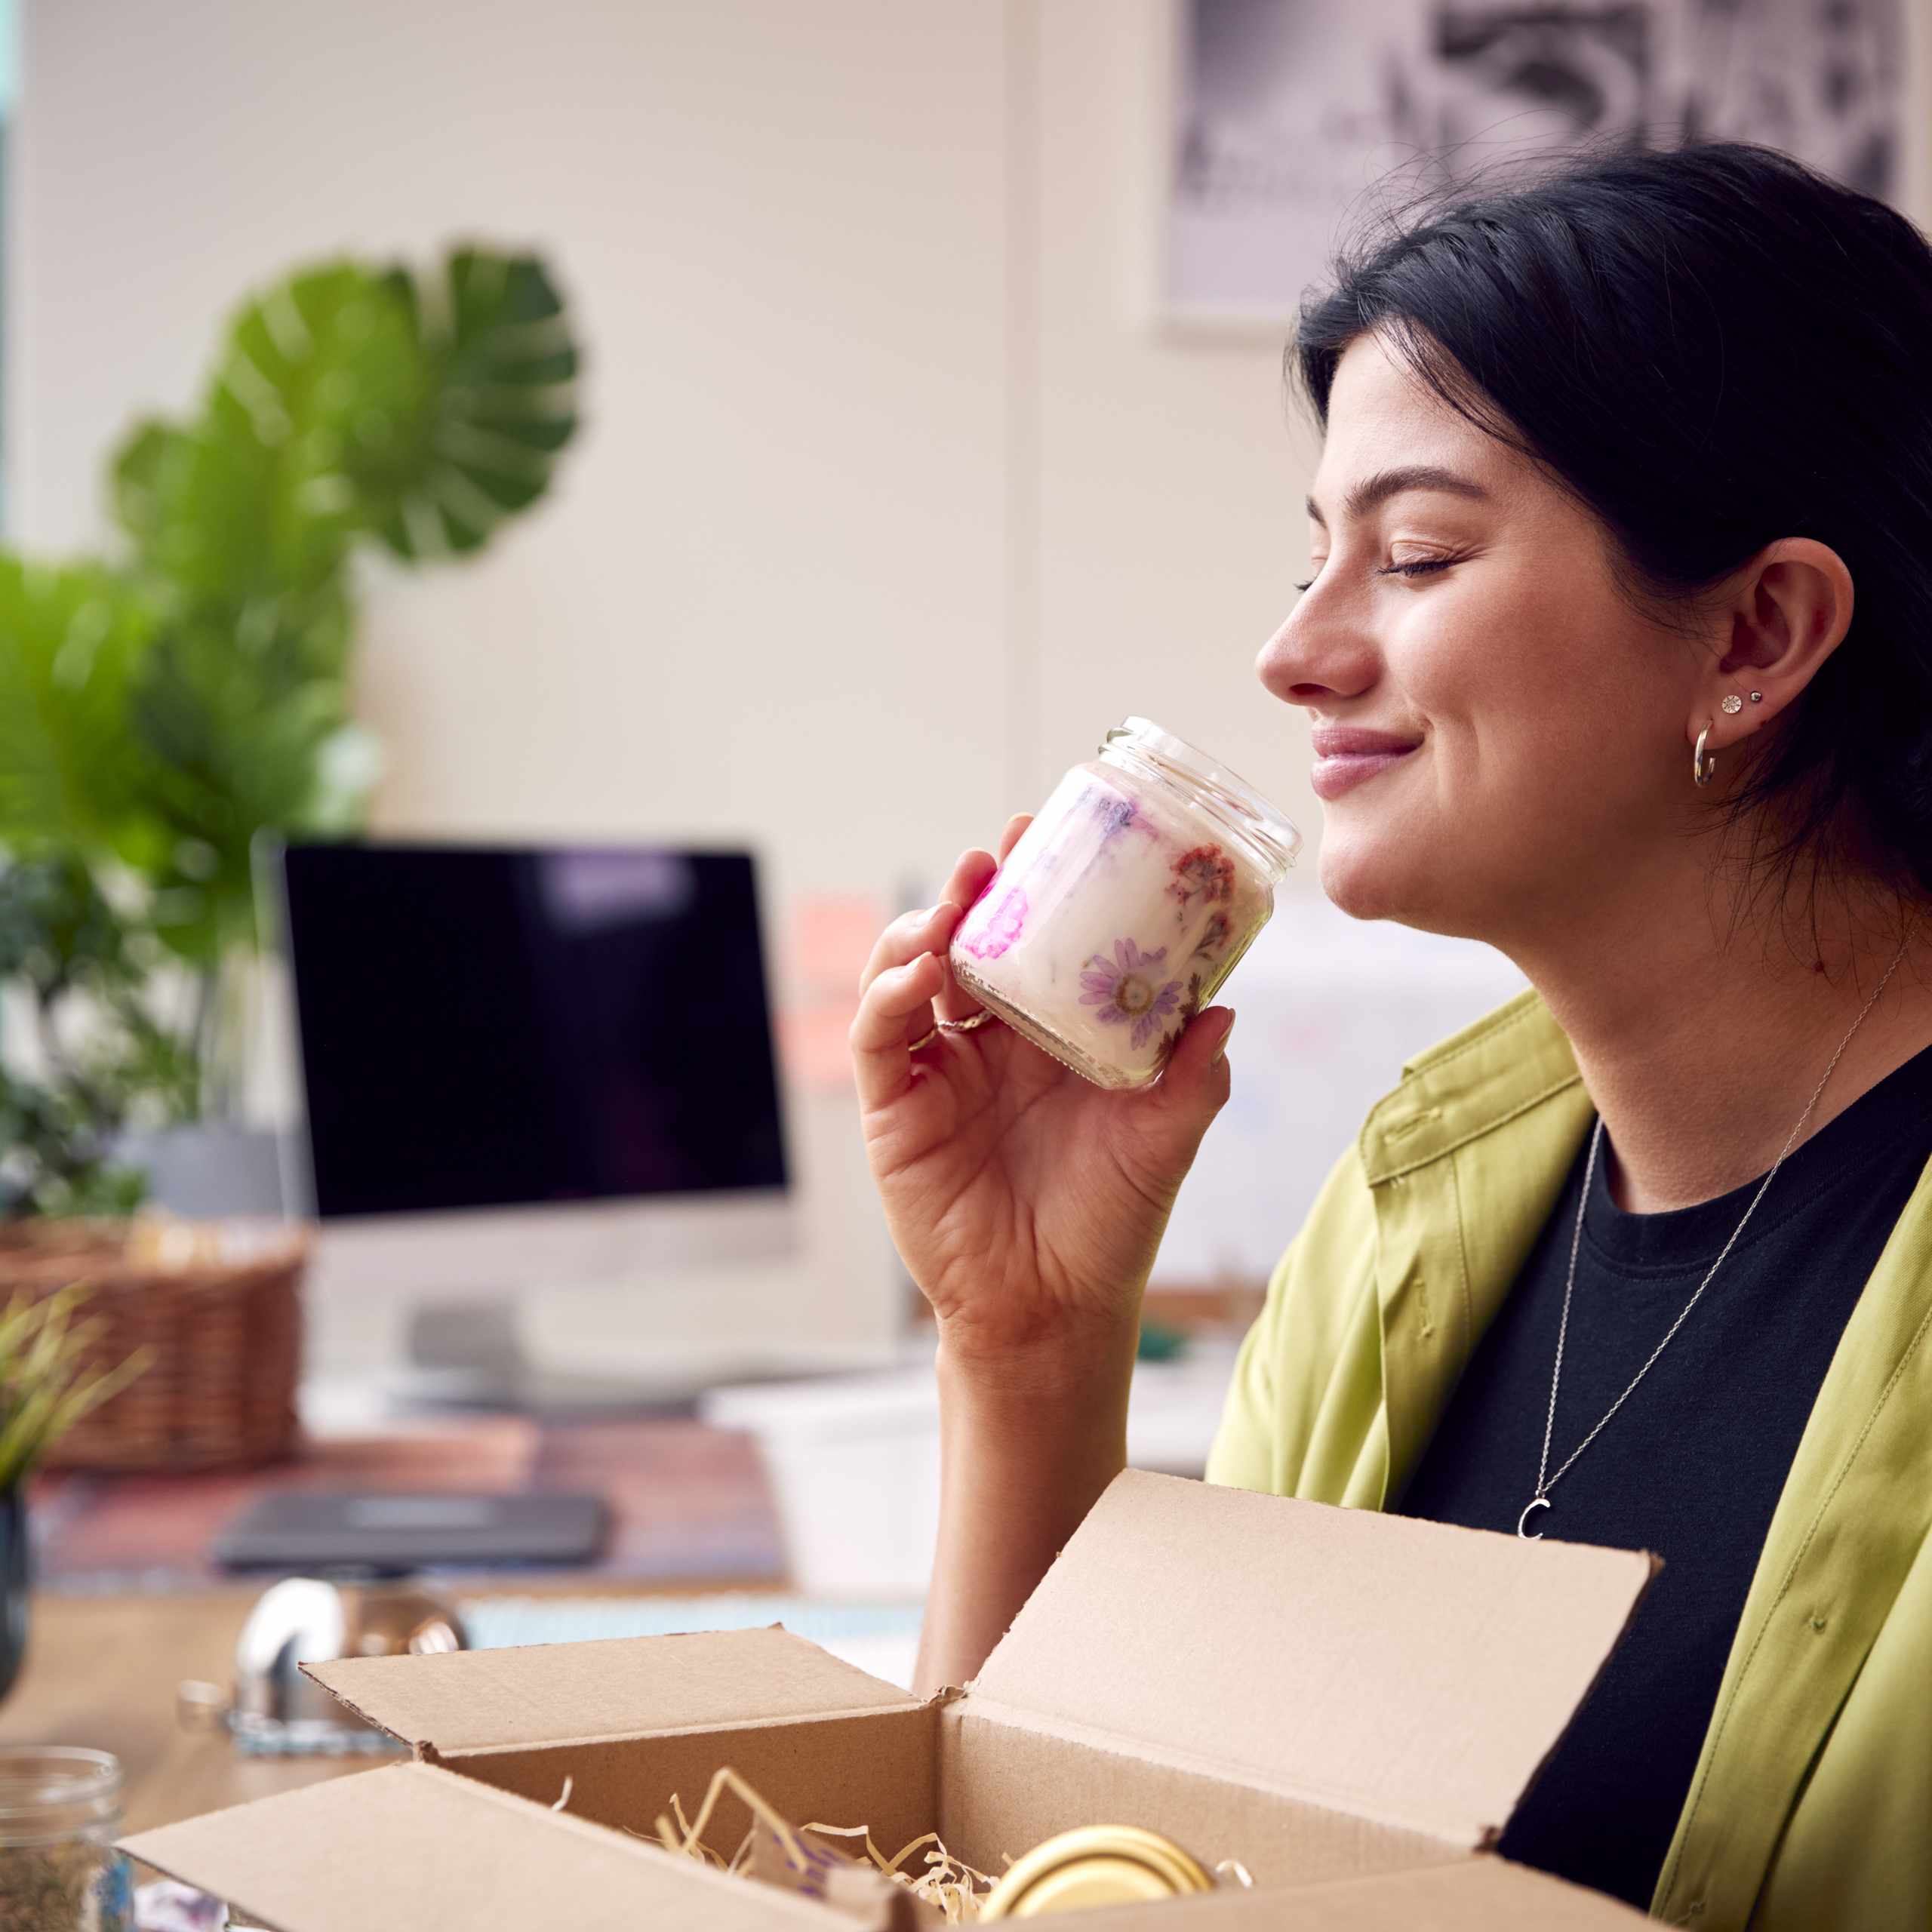

Design beyond the front panel.
A strong package begins with content planning. You will practice separating the product name, variant, quantity, and supporting details before arranging them across the front, back, side, and top panels.
Each concept is checked in flat artwork, at print scale, and on a simple mockup. This makes crowded layouts, weak contrast, awkward folds, and disconnected panels easier to notice and revise.
Five checks for every concept.
Plan The Panels
Map essential and secondary information before placing artwork on the dieline.
Set The Hierarchy
Give the brand, product name, and variant distinct levels of attention.
Control The Layout
Use spacing, alignment, color, and type without overcrowding the package.
Test At Scale
Print the design at actual size and check contrast and readability.
Review Objectives
Compare the three-dimensional view with the artwork before refining it.
What learners noticed.
Printing my label at actual size showed me that the product name was too small and the front panel had far too many competing details.
Daisuke MatsushitaPlanning the side and back panels before making the mockup helped the whole package feel connected instead of looking like one decorated front.
Izumi KitagawaSee how packaging practice is organized.
The course approach moves from simple thumbnail layouts and panel planning to print-size checks, connected artwork, and clear mockup reviews.
View The Design Process